Vespa Fender Replacement
After a minor accident I needed to replace the rear fender on my 2001 Vespa ET4. The person who rear-ended me was curious what was entailed in replacing the part but we couldn't find a good time for him to visit while I made the repairs. I busted out my handy iPhone and took pictures of my repair progress so I could share. This post is really aimed at that one person but should anyone need to replace the fender on an ET series (especially one with crash bars) hopefully this helps.
1. Before the replacement

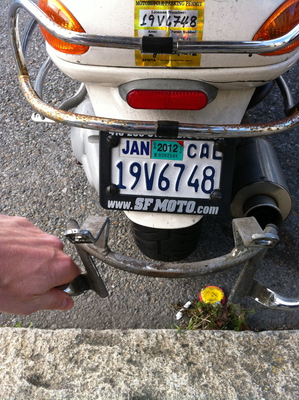
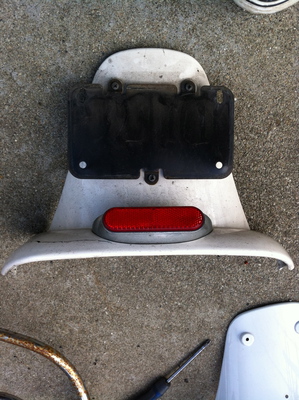
Being rear-ended on a scooter, even at low speed, is pretty jarring. We were stopped and he just rolled into me but it felt like when a clutch slips on an manual scooter and you jump forward. There weren't any injuries and as you can see above it only cracked one part. What you can't see above is the seam behind the chrome crash bar. The back fender is made of plastic and holds the license plate, license plate light and a reflector.
2. Removing the crash bars
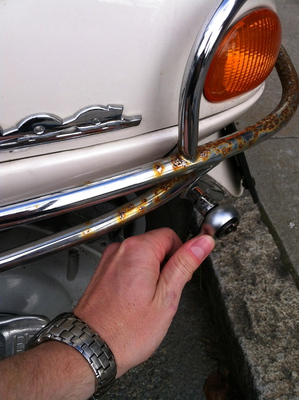
The crash bars have saved the body of my scooter more than once. Taking these things off is a pain in the butt because they hug the body very closely. Taking off the front part of the bars requires a socket (13mm) as well as something to hold the nut on the back (pliers in this case). I loosened these on both sides but didn't remove them immediately because I needed the bars to stay in position for the nest step. I couldn't take a picture with both the wrench and the pliers on at the same time since one hand needed to hold the camera. However, this should give you the idea:

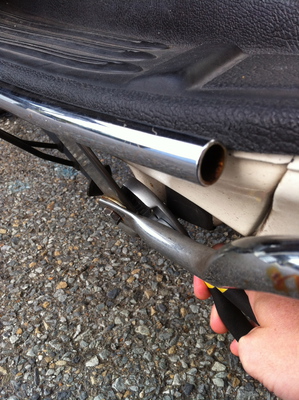
With the front bolts loose I was able to move to the rear bolts. Once again I needed to use a wrench on the outside (11mm) and pliers on the inside (plier picture omitted, you get the idea):
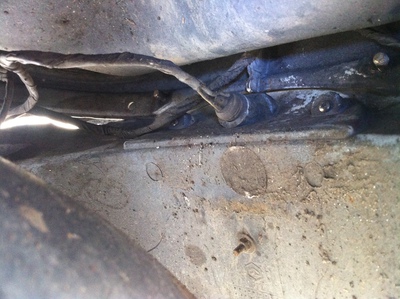
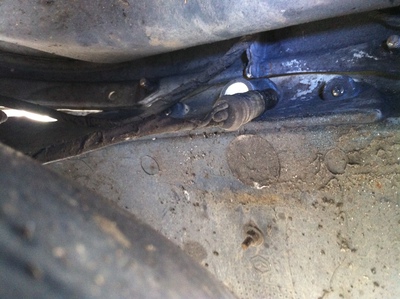
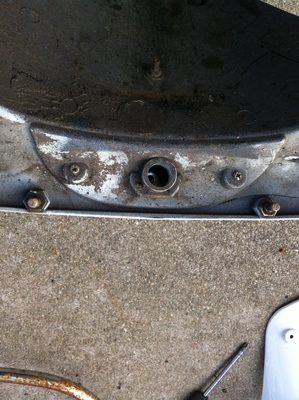
The crash bars are supported in the back by a bracket that passes over the tire and rests on the inside of the fender (image one). That bracket is held on at the sides by the rear bolts mentioned above so once they are removed you can slide the bracket out and then remove the loosened front bolts and remove the bars completely (image two):

3. Remove the fender
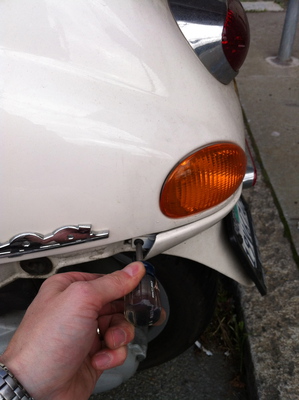
Removing the fender itself after the crash bars in quite simple. I have photographed the steps on the left side of the scooter below but the right side is just a mirror image. I started by removing the license plate light, which is held in place by a rubber grommet and nothing more. It's a bit hard to see in the two images below but these are pictures taken from the ground, under the inside of the fender. The circle of light in image two is the sun coming in the license plate light hole. If you compare the two photos you should be able to see the rubber grommet around the base of the bulb. That's all that held it in so a light tug dislodged it:
Now on to the real body panels. If you pull up the back corner of the floor mat you'll see a large screw which needs to be removed:
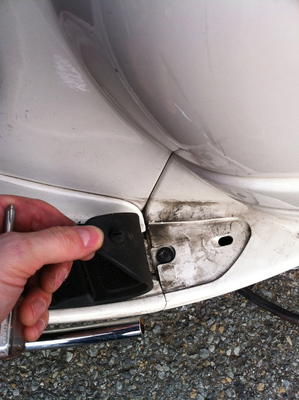

Once the screw is removed the lower panel of the cowl can be pulled off. Start by pulling on the side closest to the front of the scooter because the back edge is hooked into the fender (see image one). Once the lower panel is removed you have a clear view of the fender mounting screw (image two):
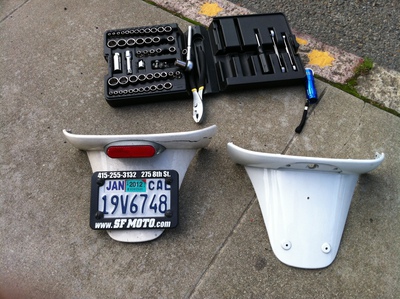
When the mounting screws have been remove from both sides the fender just needs a light tug to come off. You can see below the old part with all of the accessories on it next to the new part:
4. Transfer the accessories
The license plate it held on by four slot-headed screws that require pliers to hold the square nuts on the far side. Once the plate is remove you can clearly see the license plate bracket (image one, shown upside down, sorry.), which is held on by three screws that have nuts (7mm) on the back side. The license plate light housing (which is fronted by a reflector) is held on by two screws from the inside (image two, also upside down, sorry):
And once all of that is removed you have a mess on the sidewalk and someone with a dog is bound to come upon you and give you the stink eye. Remind yourself that they have likely helped add to the feces content of SF streets and feel smug that your shit will be cleaned up in the next 15 minutes and won't leave a smear that some poor fool steps in. My mess looked something like this, but your mess may vary:

5. Conclusion
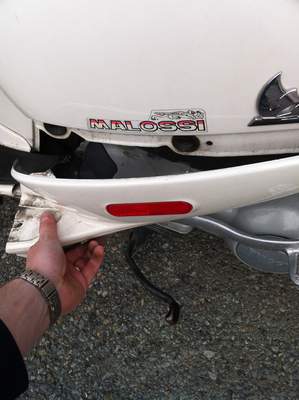
The steps were easy to repeat in reverse so I don't see any use in detailing that here. The finished product looks good, though the paint is not a perfect match due to aging:

This is an off-topic blog post about a scooter repair meant for one (or maybe two) people to read. If you're not one of those people and you're reading this then hopefully you found this through some very obscure search and you're saying "Thank god somebody wrote this down". I leave you with this moment of zen: